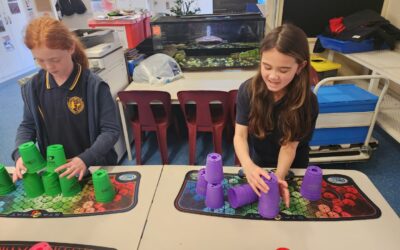
Check out some of the amazing things we have been up to in class 👇
Quickly jump to different sections of our blog by clicking any of these headings:
Donna Sharam Inspired Party Animals
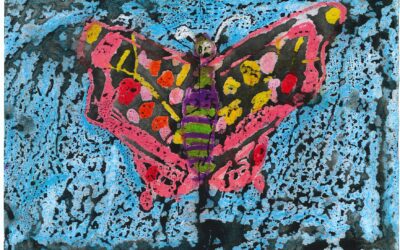
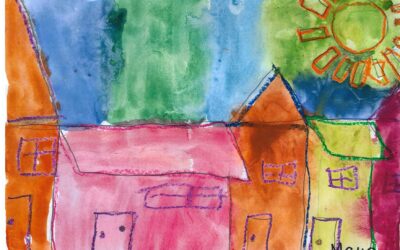
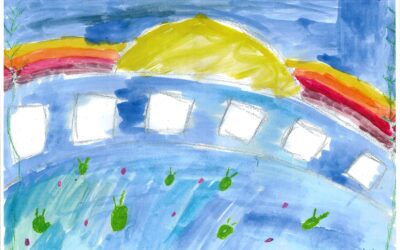
THE ART CLASS 🎨
Our class is referred to as “The Art Class”. Sometimes we will work with Vivonne, who is a very experienced artist at our school, or sometimes we will get inspiration from another artist, or watch a youtube video. —Nathan
We have done so many different types of art this year. —Holly
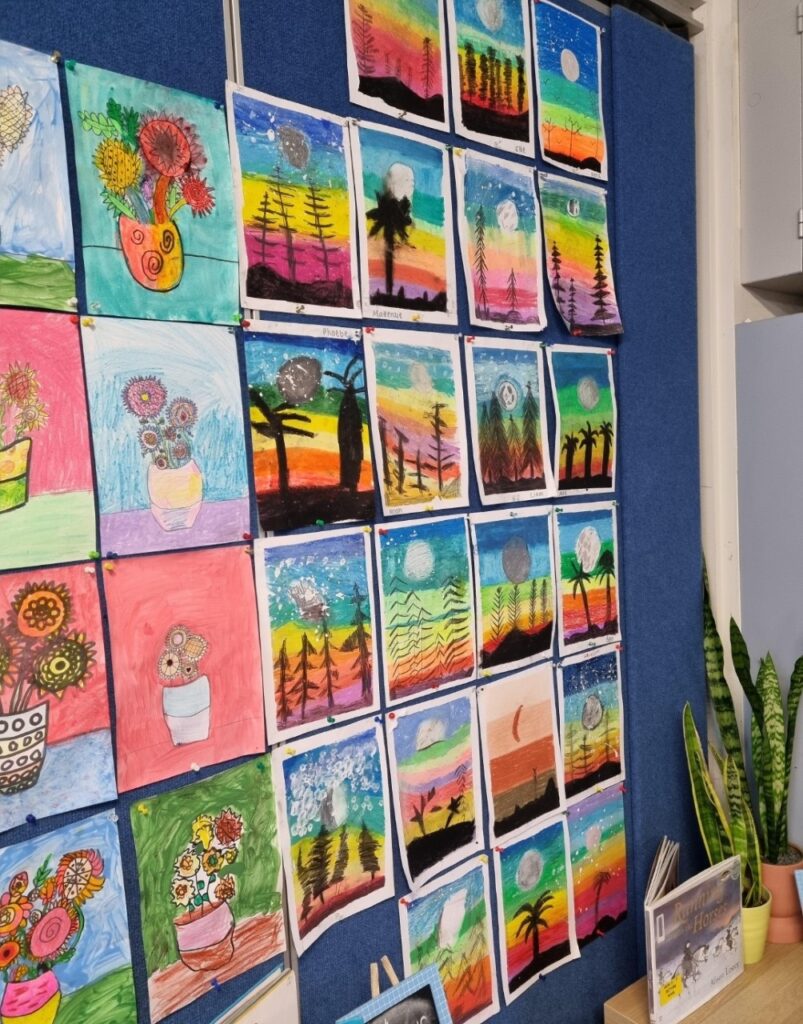
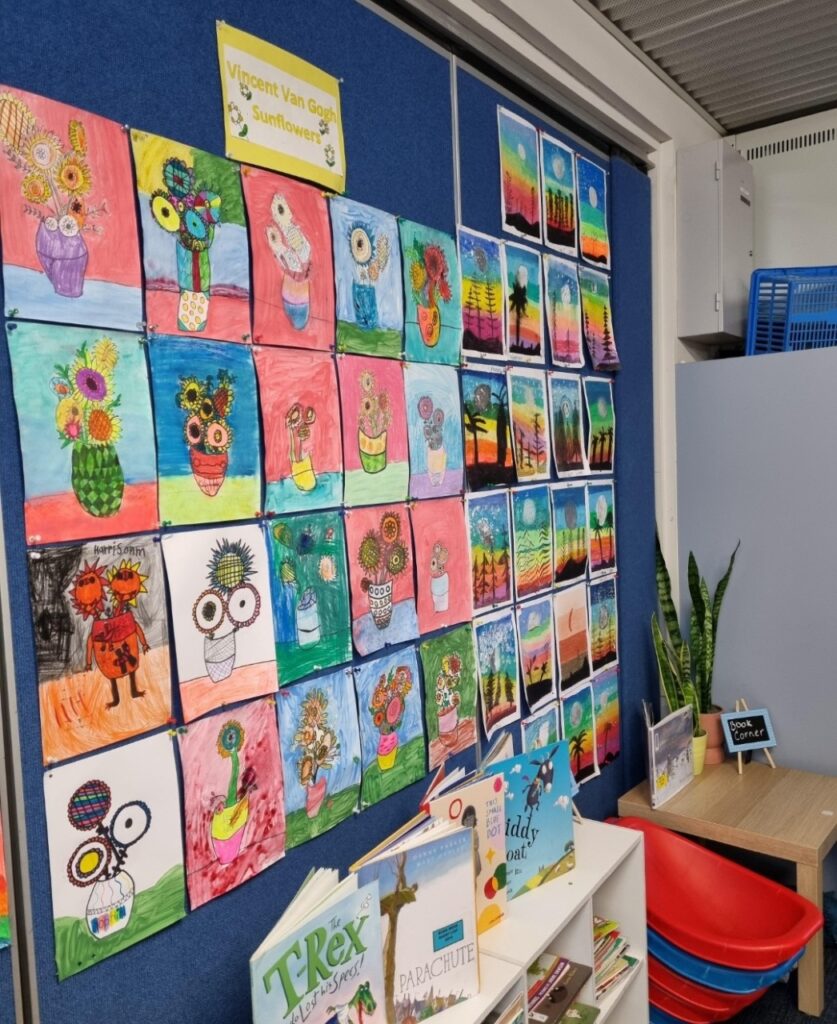
We have done Vincent Van Gogh Sunflowers, Donna Sharam Party Animals, Long Neck Portraits, Silhouette pictures, Sunset pictures and for fun some people did Art Hub Parrots. We also did Dream Catchers that looked like trampolines in the middle. —Joel
🎨 LONG NECK PORTRAITS
We did long neck portraits with Vivonne. We made them out of black cardboard and we covered up the whole piece of cardboard with our art. —Mae
These were the steps we had to do to make our long neck people:
First we did the outlines. We did the head first, then the ears, then the hair. Next, we did the nose, eyes, and the mouth. Then the actual neck and body itself. Next, we got some skin coloured oil pastels, but they had to be different shades. We drew one shade on one side, and then the other shade on the other side. Then we had to blend it in. After that was done, we coloured the hair, the body, and finally did the background. For the background, we did some patterns such as circles, zig zags, swirly lines, triangles, squares, diamonds and even some pretty cool shapes like sand timers! —Nathan
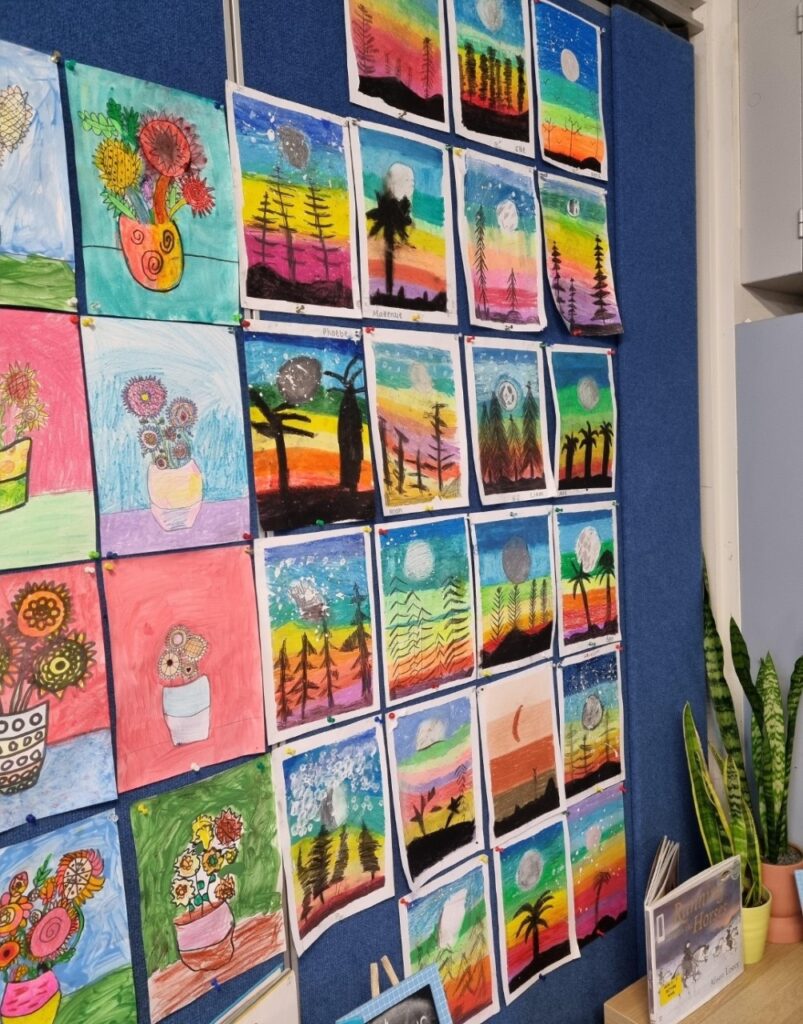
🎨 SILHOUETTE ART
To make our silhouette art, we needed tape, paper and oil pastels. The colours that we needed were black, yellow and red. Some people used black oil pastel to make a black tree. —Chase
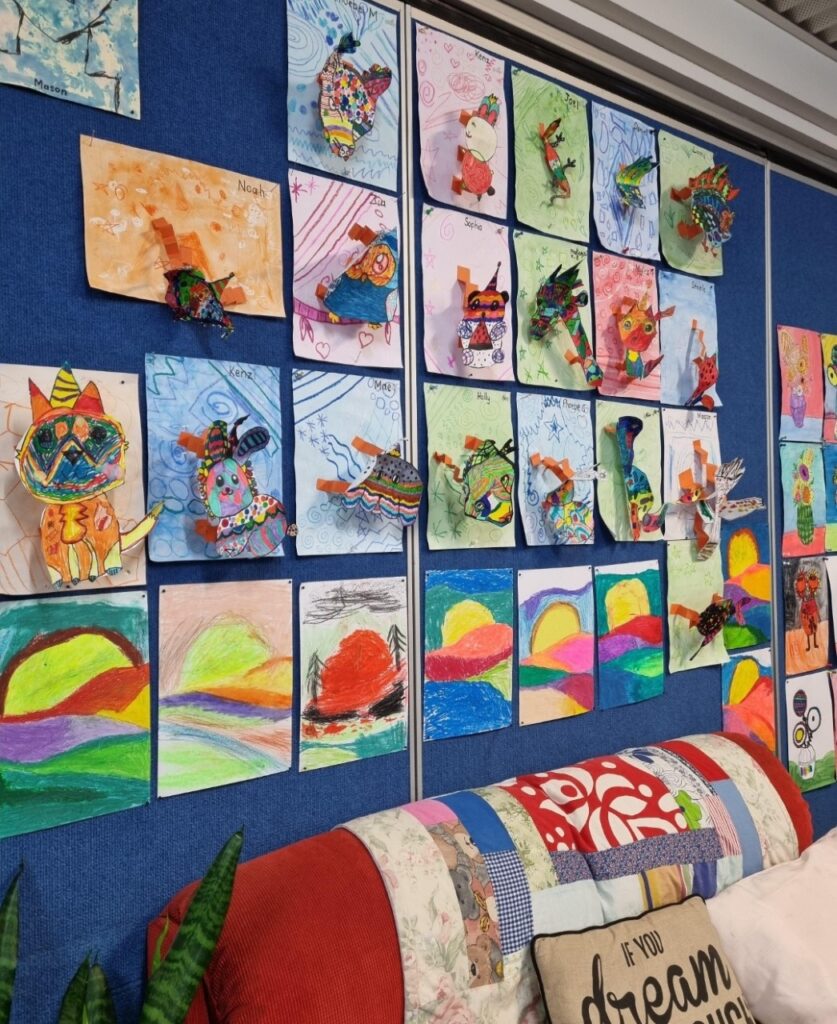
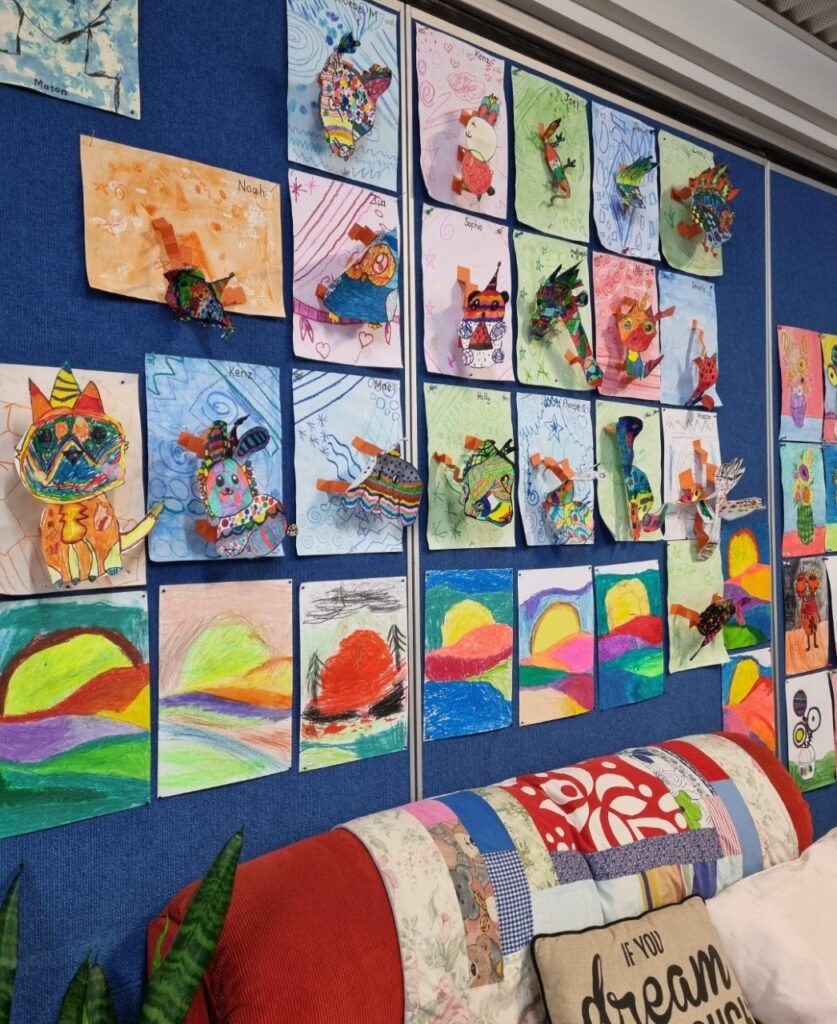
🎨 DONNA SHARAM INSPIRED POP-OUT PARTY ANIMALS
We learned about an artist called Donna Sharam. We looked up her Party Animals on the iPad, they had lots of patterns on them. —Holly
First, we looked online and chose an animal to do. Then we got a piece of paper and we drew the outline. —Zia
Next, we gave our animal any accessories we wanted. Then we put patterns inside them [making sure we can colour in the pattern]. Then we coloured them in. After that, we created springs out of paper. Next we drew a background and glued our springs to our animals and decorated the background. Then we were done. —Ben
For my Party Animal, I did a cat and it looked good. I think I did well and I called mine a Vroom Vroom Kitty. It is a good name for a cat. —Mason
🎨 DREAM CATCHERS
Vivonne helped us make the Dream Catchers. She is amazing and she is an art teacher. —Phoebe M
First, we got a paper plate and put our initials on the back of it. Then we put colours on it like purple, orange, blue, pink and more. —Noah
We loved making them with Vivonne. She is really good at art. When we coloured in our initials, we used crayon and then we got to choose a new colour. —Sophia
We painted outlines of circles in heaps of different colours. When it dried, we drew some patterns on the painting with these special textas that were really cool. —Makenzie
Next, we had to weave; this was a tricky technique, you had to skip one and go under the other. We chose a different colour every time, and it looked beautiful. —Liam
We used different colours of string. Some people struggled with the technique, but others found it easier. —Makenzie
When our plates were set, we painted the back of the plates navy blue, black or purple.
We made a handle from a piece of string, and had two more pieces the same size and one big one in the middle; the three pieces of string had to be the same colour as the handle.The thing I learnt while making this, was to be persistent and not to rush ahead. —Liam
After that, we added beads and feathers and had help from the best: Vivonne! —Noah
Then we painted the back of our Dream Catchers with Vivonne – she is a cool art teacher —Tane
I liked doing the Dream Catchers because it included weaving and painting. We used some paint and textas to do the patterns. I put stars, dots and lines on mine. It was really fun because you could do any colour of string you wanted and we used water pastels and then Viv dunked them in black water. —Phoebe G
The dream catchers were super fun because they took really long and we took our time. We weaved, painted, put beads and feathers on them and used glitter pens, metallic pens, glitter textas and metallic textas to decorate them. —Kenzie
It was FUN making the Dream Catchers!! Soon we are taking them home. They look so COOL!! You can hang them up on the roof. I think it catches your dreams so you have no nightmares —Ellie
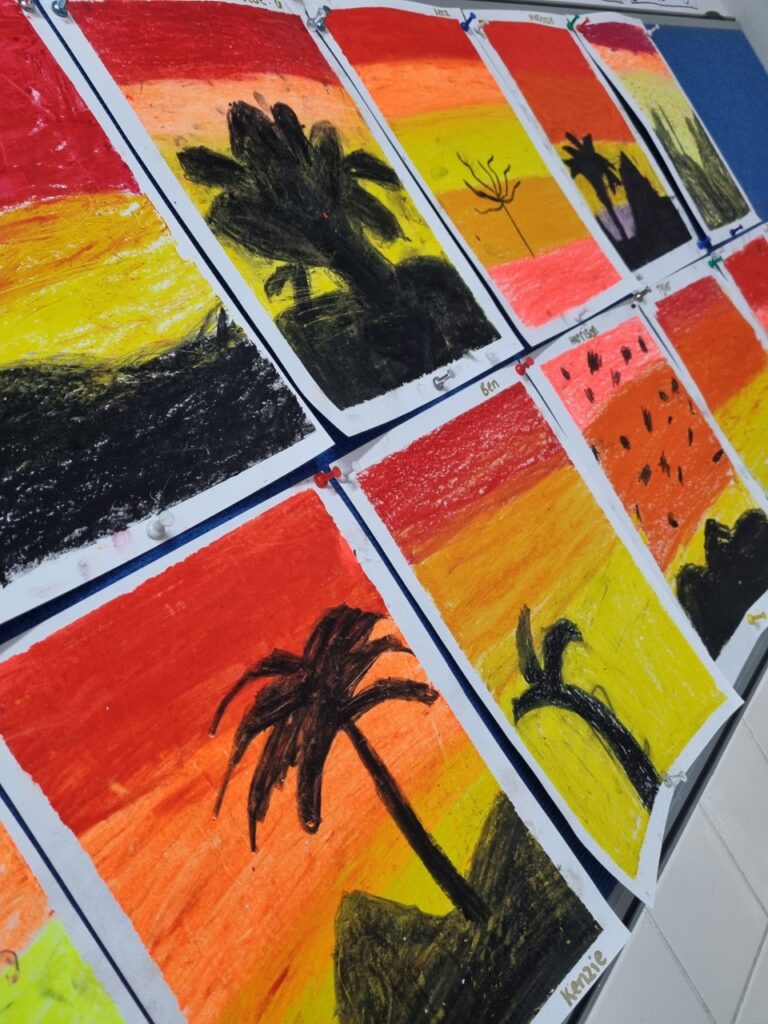
🎨 SUNSET PICTURES
These look so cool. We made hills and the sun in the background and the sunset. We made the hills different colours —Ellie
My favourite piece of art I made is the sunset with trees. —Tyler
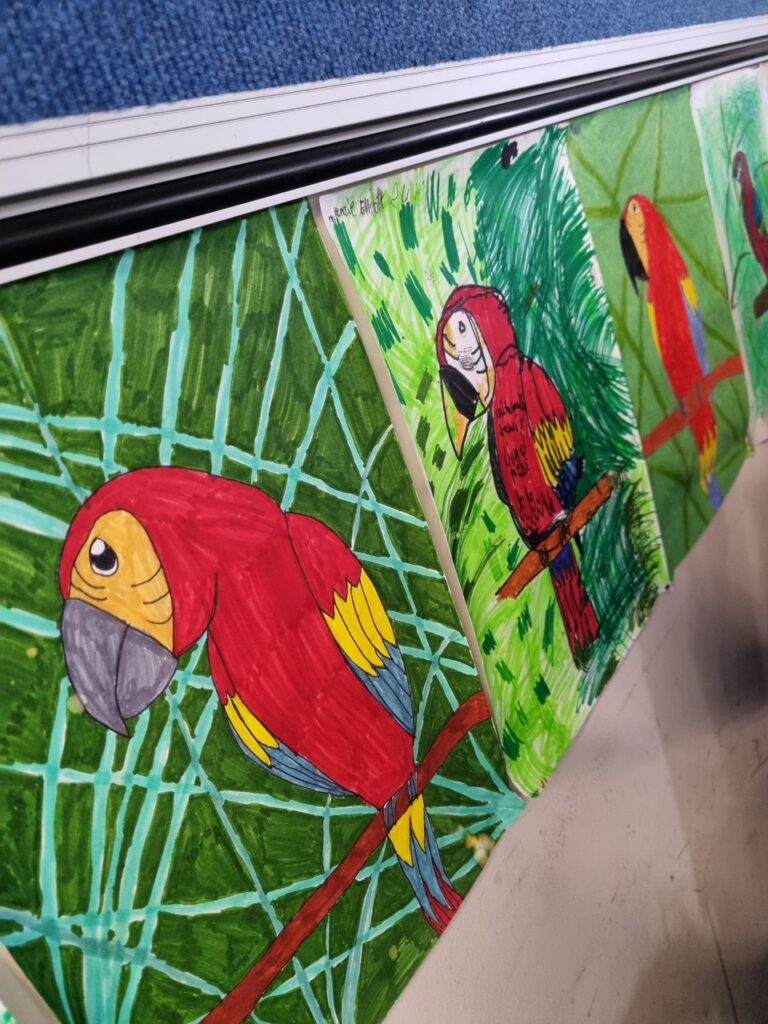
🎨 PARROTS
We did a Parrot using Art Hub. First, we drew the head, then we did the beak and then we drew the outline of the body. We added the wings and drew a stick for it to sit on. Then we drew its feet. Next, we started to colour in the head and then the body, the feet and then the stick. Next, we drew pretty thick lines in the background and then coloured it in dark green. Then after that, we coloured the rest of the background a lighter green. —Steele
We’re proud to be called “The Art Class, and we are proud to have Vivonne, Mrs Baumann and Mrs Smale helping us. —Nathan
GREEN THUMBS 🌱
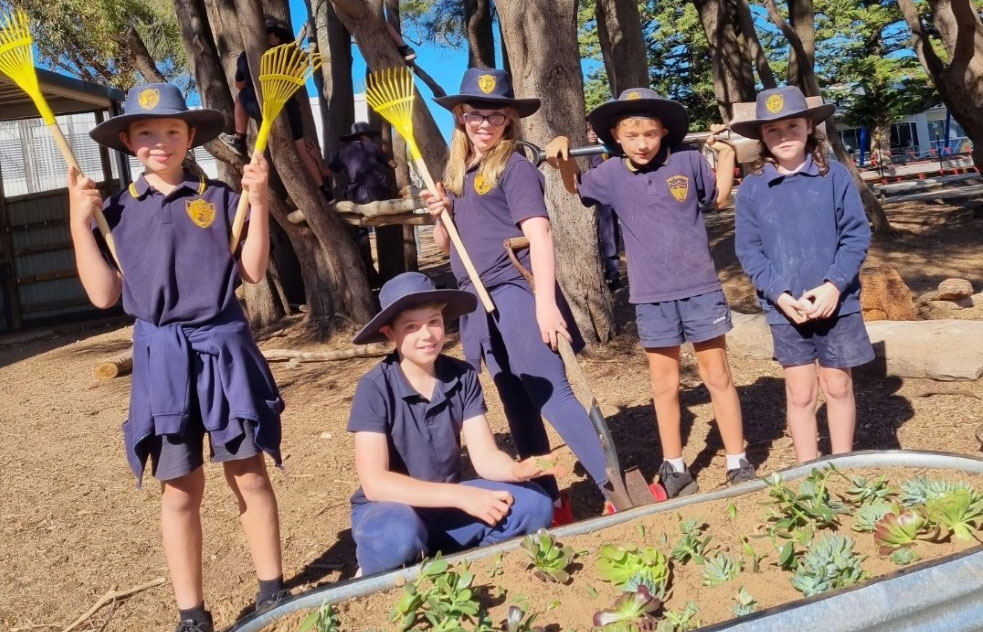
Students in room 16-2 YAHOO have shown a great love for plants, gardening and beautifying parts of the school. Before the students got their hands dirty they had to complete a research project. The project included questions like:
- What is a hardy plant?
- What is the most hardiest plant in the world?
- Can you name different kinds of succulents?
- What fruits and vegetables are in season?
- Find the costs of fruits and vegetables in season on the bunnings website.
There was great reasoning behind the questions. Little did the students know they would be planting hardy plants, succulents and fruits and vegetables around the school.
The students then had to use their knowledge from what they researched and design a landscape outside our classroom.
LEARNING PROCESS AND INTENTIONS 🌱
During this fantastic learning process our class:
- Recognised the role of people in design and technologies occupations and explore factors, including sustainability that impact on the design of products, services and environments to meet community need
- Critiqued needs or opportunities for designing and explore and test a variety of materials, components, tools and equipment and the techniques needed to produce designed solutions
- Generated, developed, and communicated design ideas and decisions using appropriate technical terms and graphical representation techniques
- Evaluated design ideas, processes and solutions based on criteria for success developed with guidance and including care for the environment
BENEFITS 🌱
Gardening is educational and develops new skills including:
- Responsibility – from caring for plants around our school.
- Understanding – as they learn about cause and effect (for example, plants die without water)
- Self-confidence – from achieving their goals and enjoying the food they have grow.
STUDENT COMMENTS 🌱
“I like how we can make the school have more plants so it can look better” —Sophia
“It’s really cool that we can do gardening around the school” —Kenzie
“I am learning to care for plants” —Holly
“It’s fun because I like getting my hands dirty” —Steele
“I like that we got to design a plan and I really like gardening” —Liam
“I love when we get to plant stuff in the yard and get to go outside with our teacher and explore nature” —Noah
“I’m really grateful for all the stuff Mrs Smale has planned for us and I hope no one steps on or destroys our beautiful work” —Phoebe
“I like our designs that we’ve done and I hope the landscape turns out fabulous” —Ben
“Plants are growing and growing and growing and I like how sunflowers are named after the sun” —Mason
Goodbye, and thanks for reading our blog! —Nathan
